What is an onFormSubmit trigger?
|
The onFormSubmit is a Google Apps Script service that specifies a trigger, when paired with the GeoCode add-on, will automatically execute the Geocode script immediately after the Google Sheets destination source (Form Response sheet) receives new entries from Google Forms. This feature-combination allows you to easily collect data and geocode addresses behind the scenes. Afterwards, all that's left to do is just refresh / reload your Awesome Table app to reflect the most recent submissions. If reloading an app is too much work, you can opt to use AwesomeTable's Auto Refresh script. In this standalone and optional exercise, we're going to demonstrate a very straightforward use-case highlighting the simplicity and power of the GeoCode add-on with onFormSubmit and Auto Refresh (on the right is an actual demo). Feel free to try the demo using the files below: |
 Triple-combo feature: Triple-combo feature: GeoCode add-on with onFormSubmit trigger and Auto-Refresh set at 15 sec. |
1. Create your form
2. Choose where to save your form responses
1) Open the pertinent Google Forms.
2) At the top, click the RESPONSES (tab).
3) Click More Actions ⋮
4) Click Select response destination.
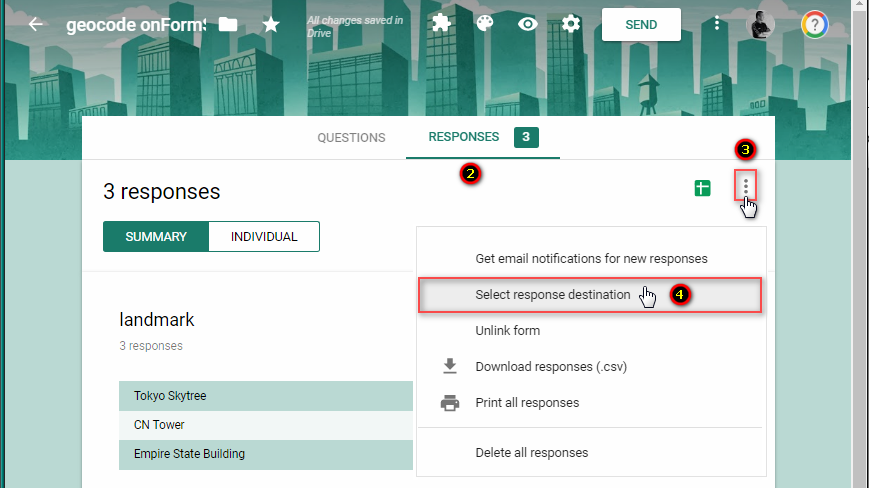 Labelled screenshot for sub-tasks 2.2 to 2.4
5) Choose from these options:
Create a new spreadsheet.
- Creates a spreadsheet for responses in Google Sheets.
Select existing spreadsheet.
- Choose from your existing spreadsheets in Google Sheets to store responses.
6) Click Create or Select

Screencast for sub-tasks 2.5 to 2.6
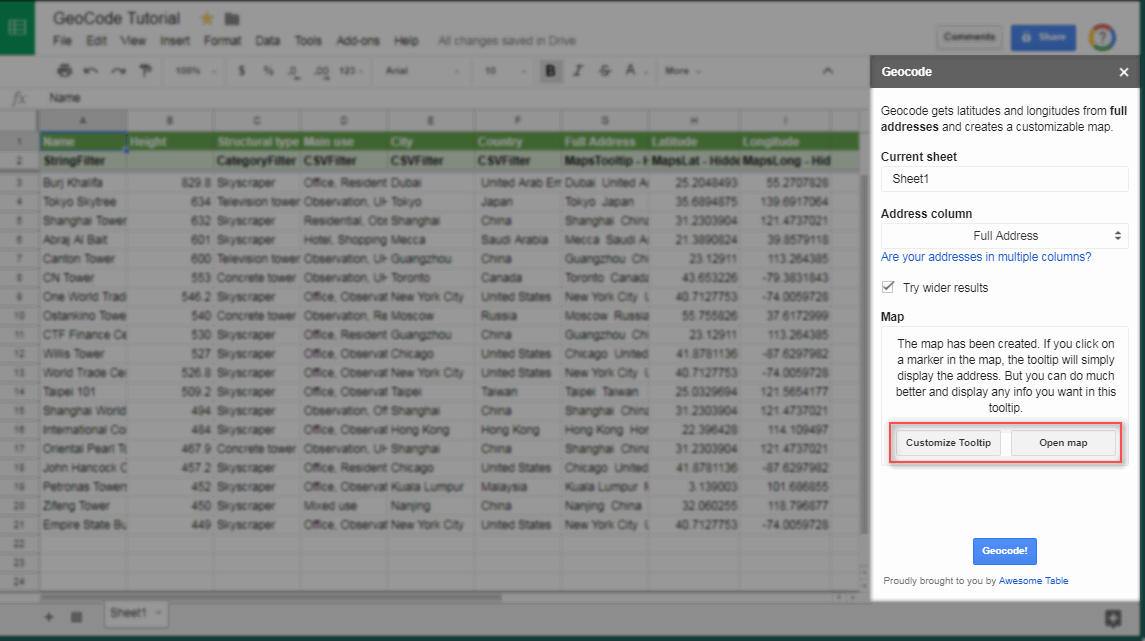
3. Start Geocoding
Follow steps 1 - 4 of the Geocode addresses tutorial.
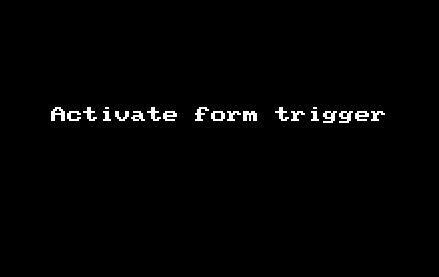
4. Activate the onFormSubmit trigger
After selecting a Form Response destination and initializing the Geocode script (by clicking the Geocode! button), you need to activate the onFormSubmit trigger so that new form responses will automatically be geocoded.
To do this in Google Sheets: select Add-ons > Geocode by Awesome Table > Geocode on form submit then click the Activate trigger button.
 Manually activate the onFormSubmit trigger.
5. Perform an initial test on the form trigger

Screencast of the initial onformSubmit trigger test.
6. Customize the Tooltip
Choose your preferred method on how to customize your tooltip by following the detailed tutorial here.
7. Check your interactive map with submitted form entries
You could either:
- Click Open map to see your map app (from the last step of the Geocode address tutorial) or
- Open the most recently created app from your AwesomeTable dashboard.
You've successfully learned how to use the GeoCode add-on to:
- Automatically Geocode Form Submissions using the onFormSubmit feature and
- AutoRefresh your app each time new form entries are received.
Your interactive map app should resemble the live demo below.
Feel free to try the demo using the files below:
Live example