1. Create a template column
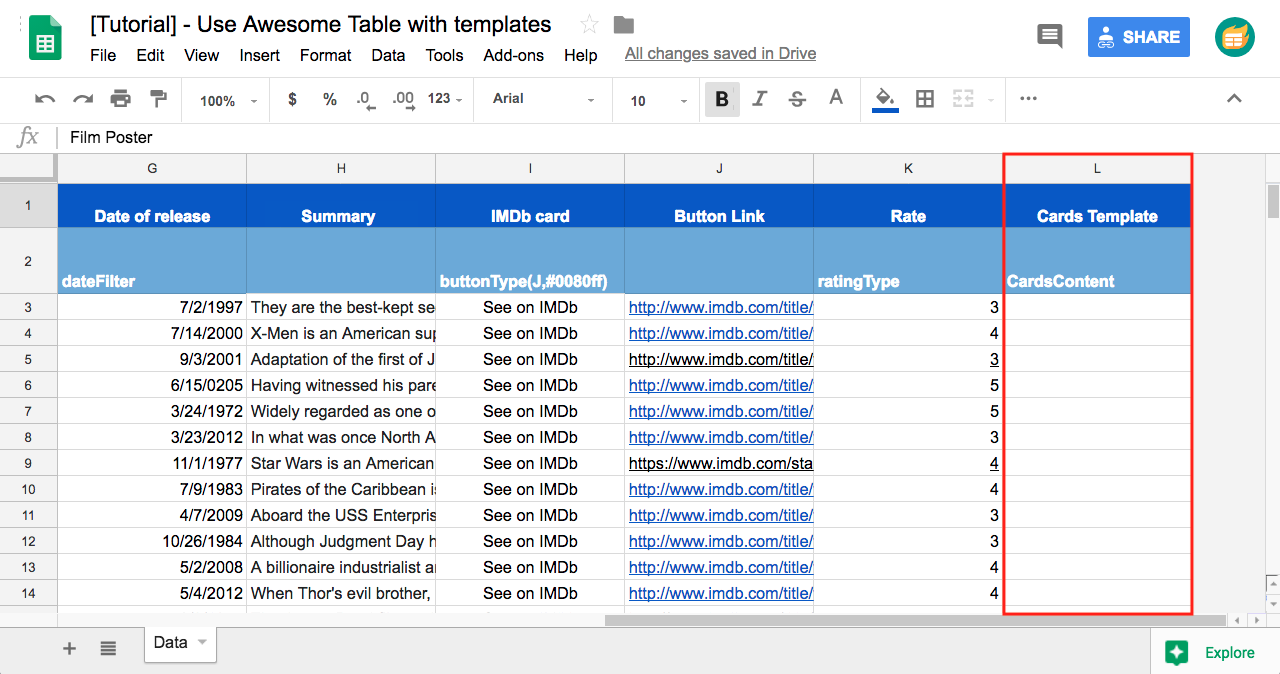
The first step in creating an Awesome Table template is to insert a new column in your datasheet. For this exercise, you'll label the header of the new blank column 'Cards Template'.
Then enter the CardsContent keyword in the second row. This must be the only column that has this keyword.
2. Create a template sheet
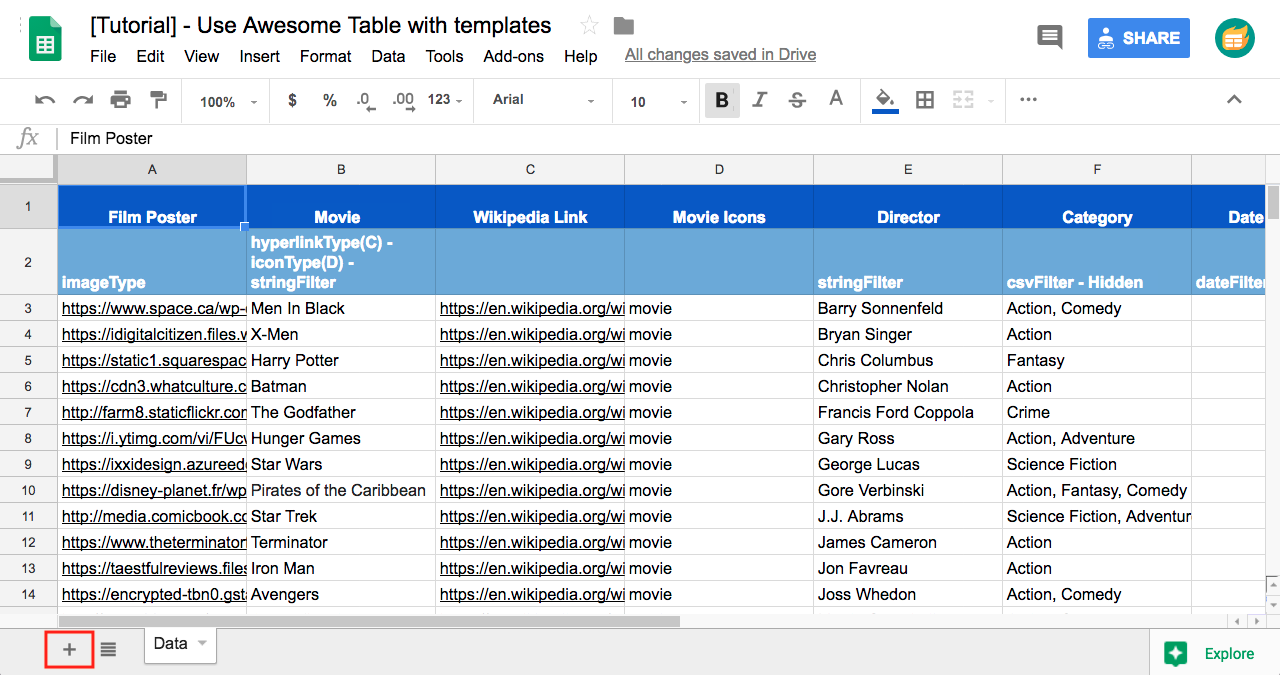
Click the Add Sheet button on the bottom left of the status bar to insert a new blank sheet.
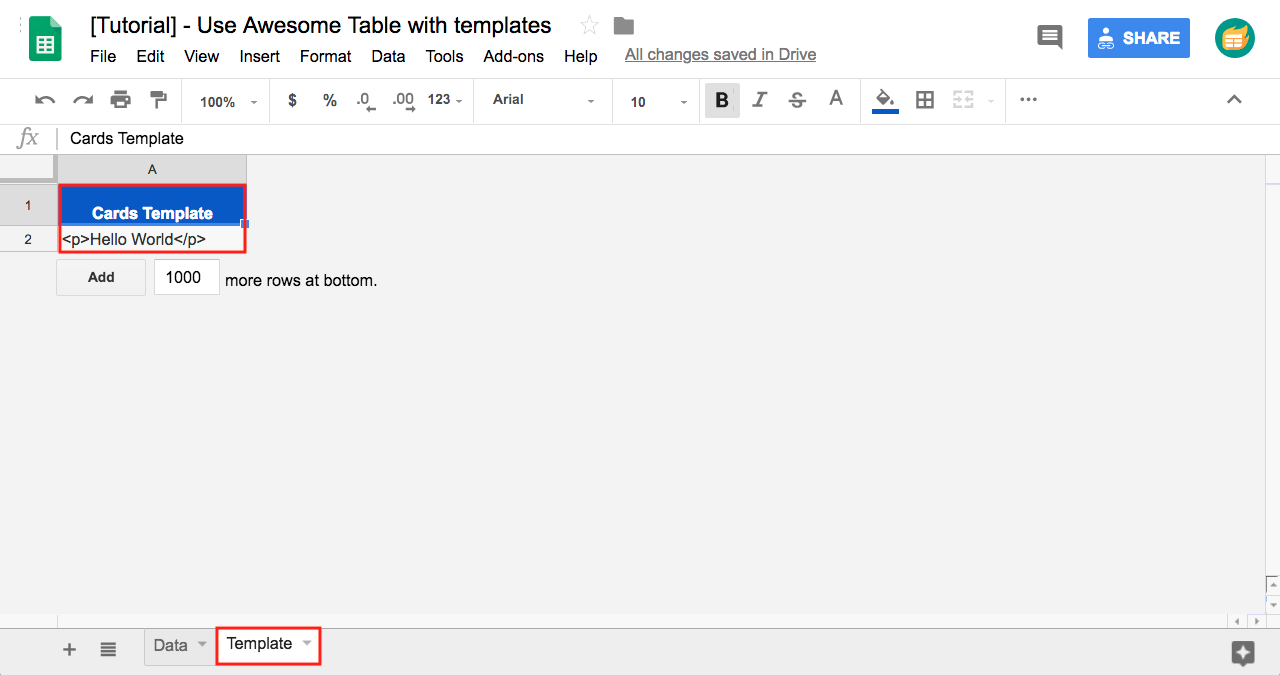
Rename the new sheet. In our example, we named it Template.
Only two rows are required in a template sheet: the header and the template. In this exercise, enter the text 'Cards Template' in the header of your template sheet.
For now, copy and paste the code below in your template section (cell A2):
<p>Hello World</p>
3. Reference your template in Awesome Table's settings
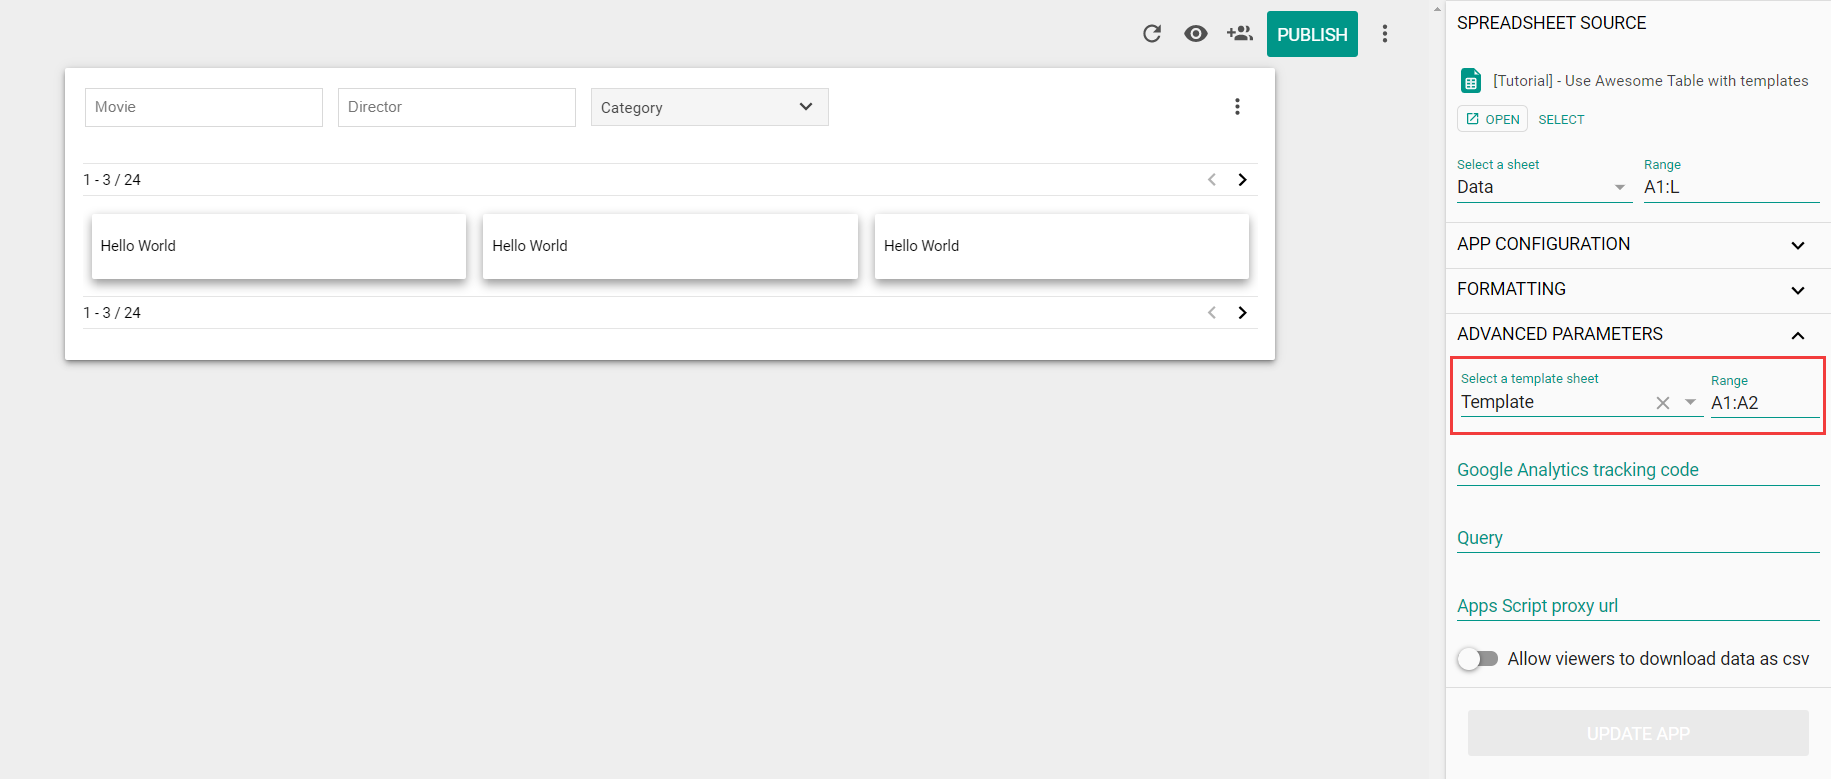
This exercise's final step is to specify in Awesome Table's sidebar where your template is located. Go to Advanced parameters and select the Template sheet named:
Template
Under Range write:
A1:A2
Finally, for the modifications to take effect, click the Update app button.
Once this is done, you should have this simple template.
In the next article, you will learn how to customize your HTML templates with {{markers}} to display dynamic values from your spreadsheet and add CSS templates.