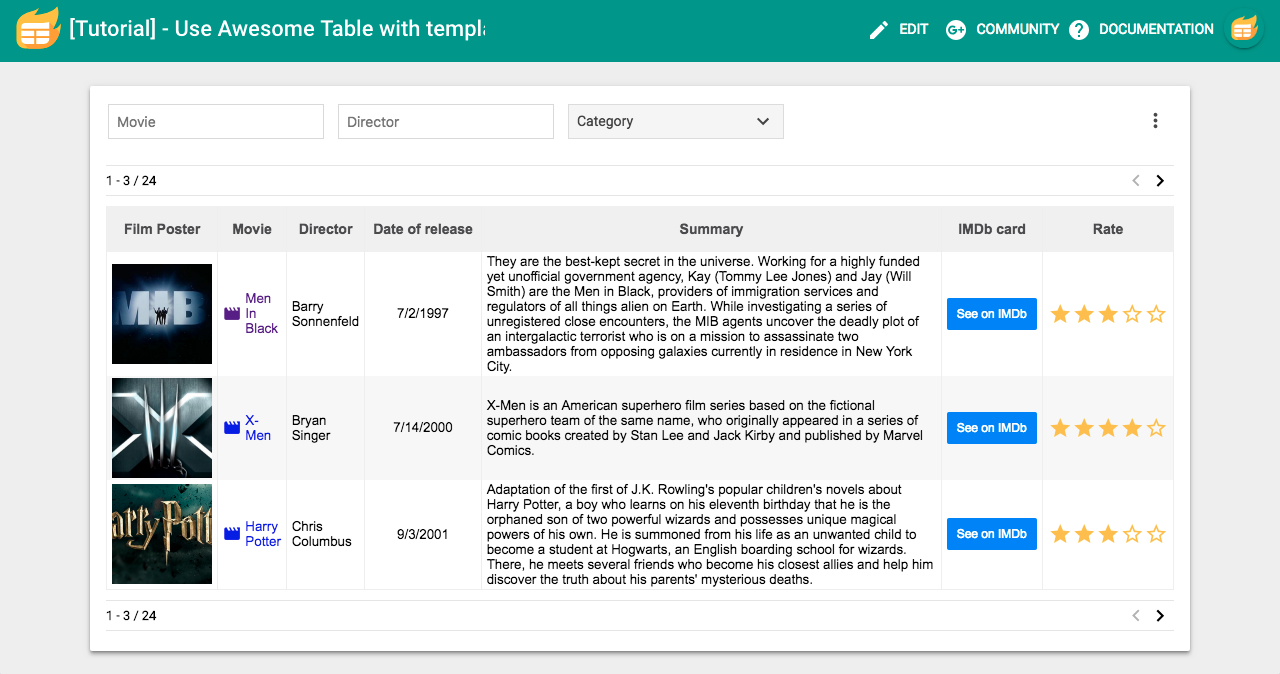
You should have this result:
1. Change the app type
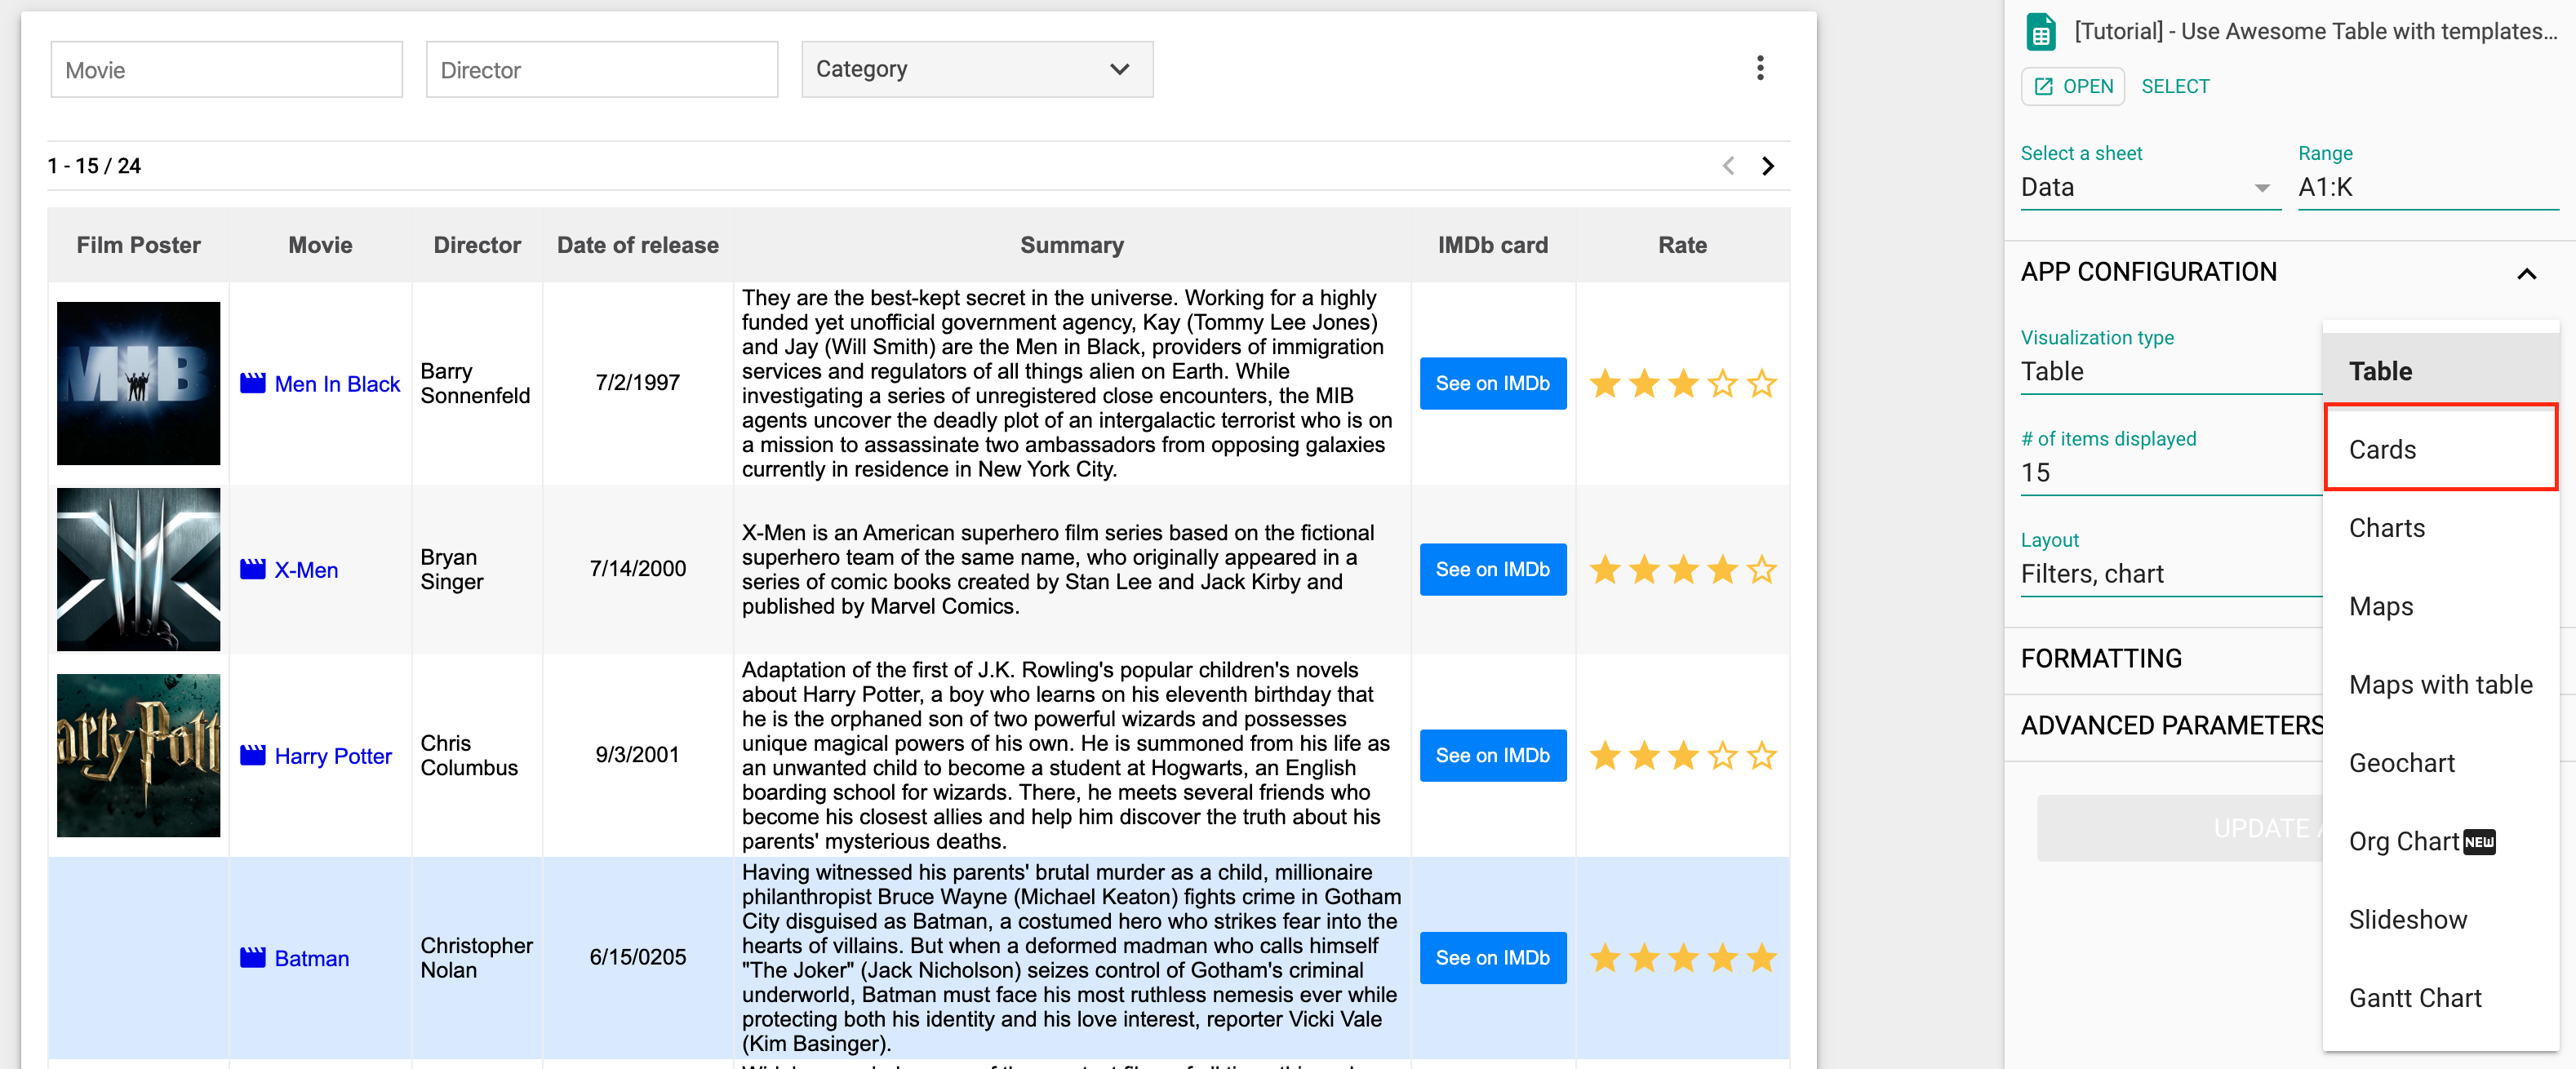
By default, Awesome Table uses a table app when a new file is created.
To change the app type to a Cards app, use the edit mode and go to APP CONFIGURATION > Visualization Type > select Cards.
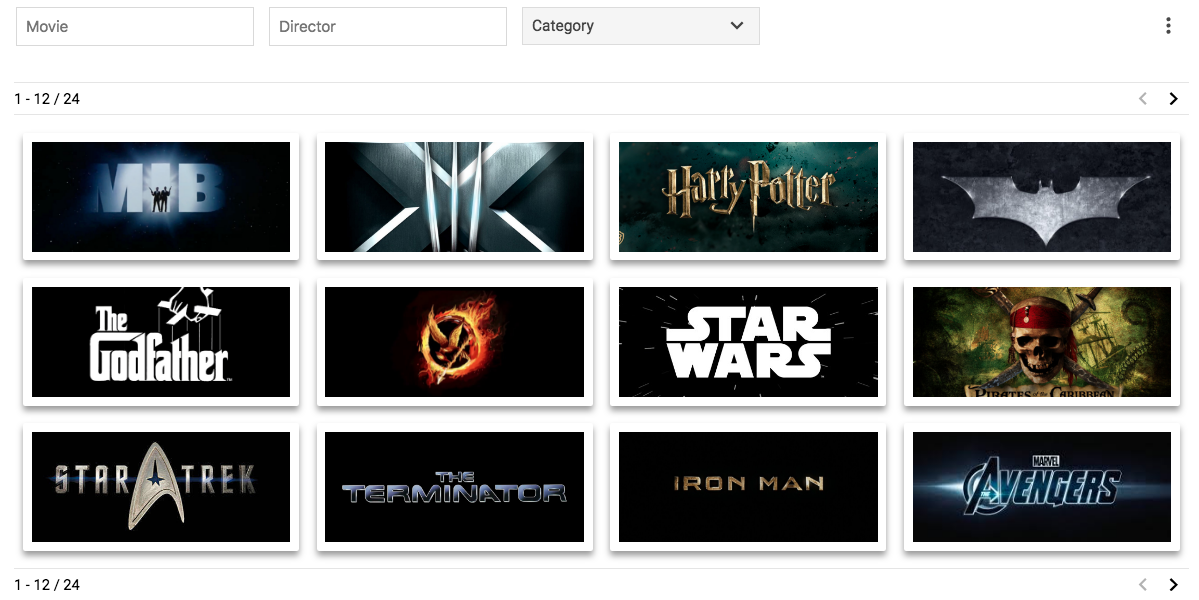
After selecting Cards, your app should look like this:
2. Set the content of the card
You just learned that the Cards app will display the first non-hidden column's content in your data source. To bypass this, you can specify the column you would like to show by adding the "CardsContent" keyword in the second row of the relevant column.
You will find this especially useful later in this tutorial when it's time to layout your template column.
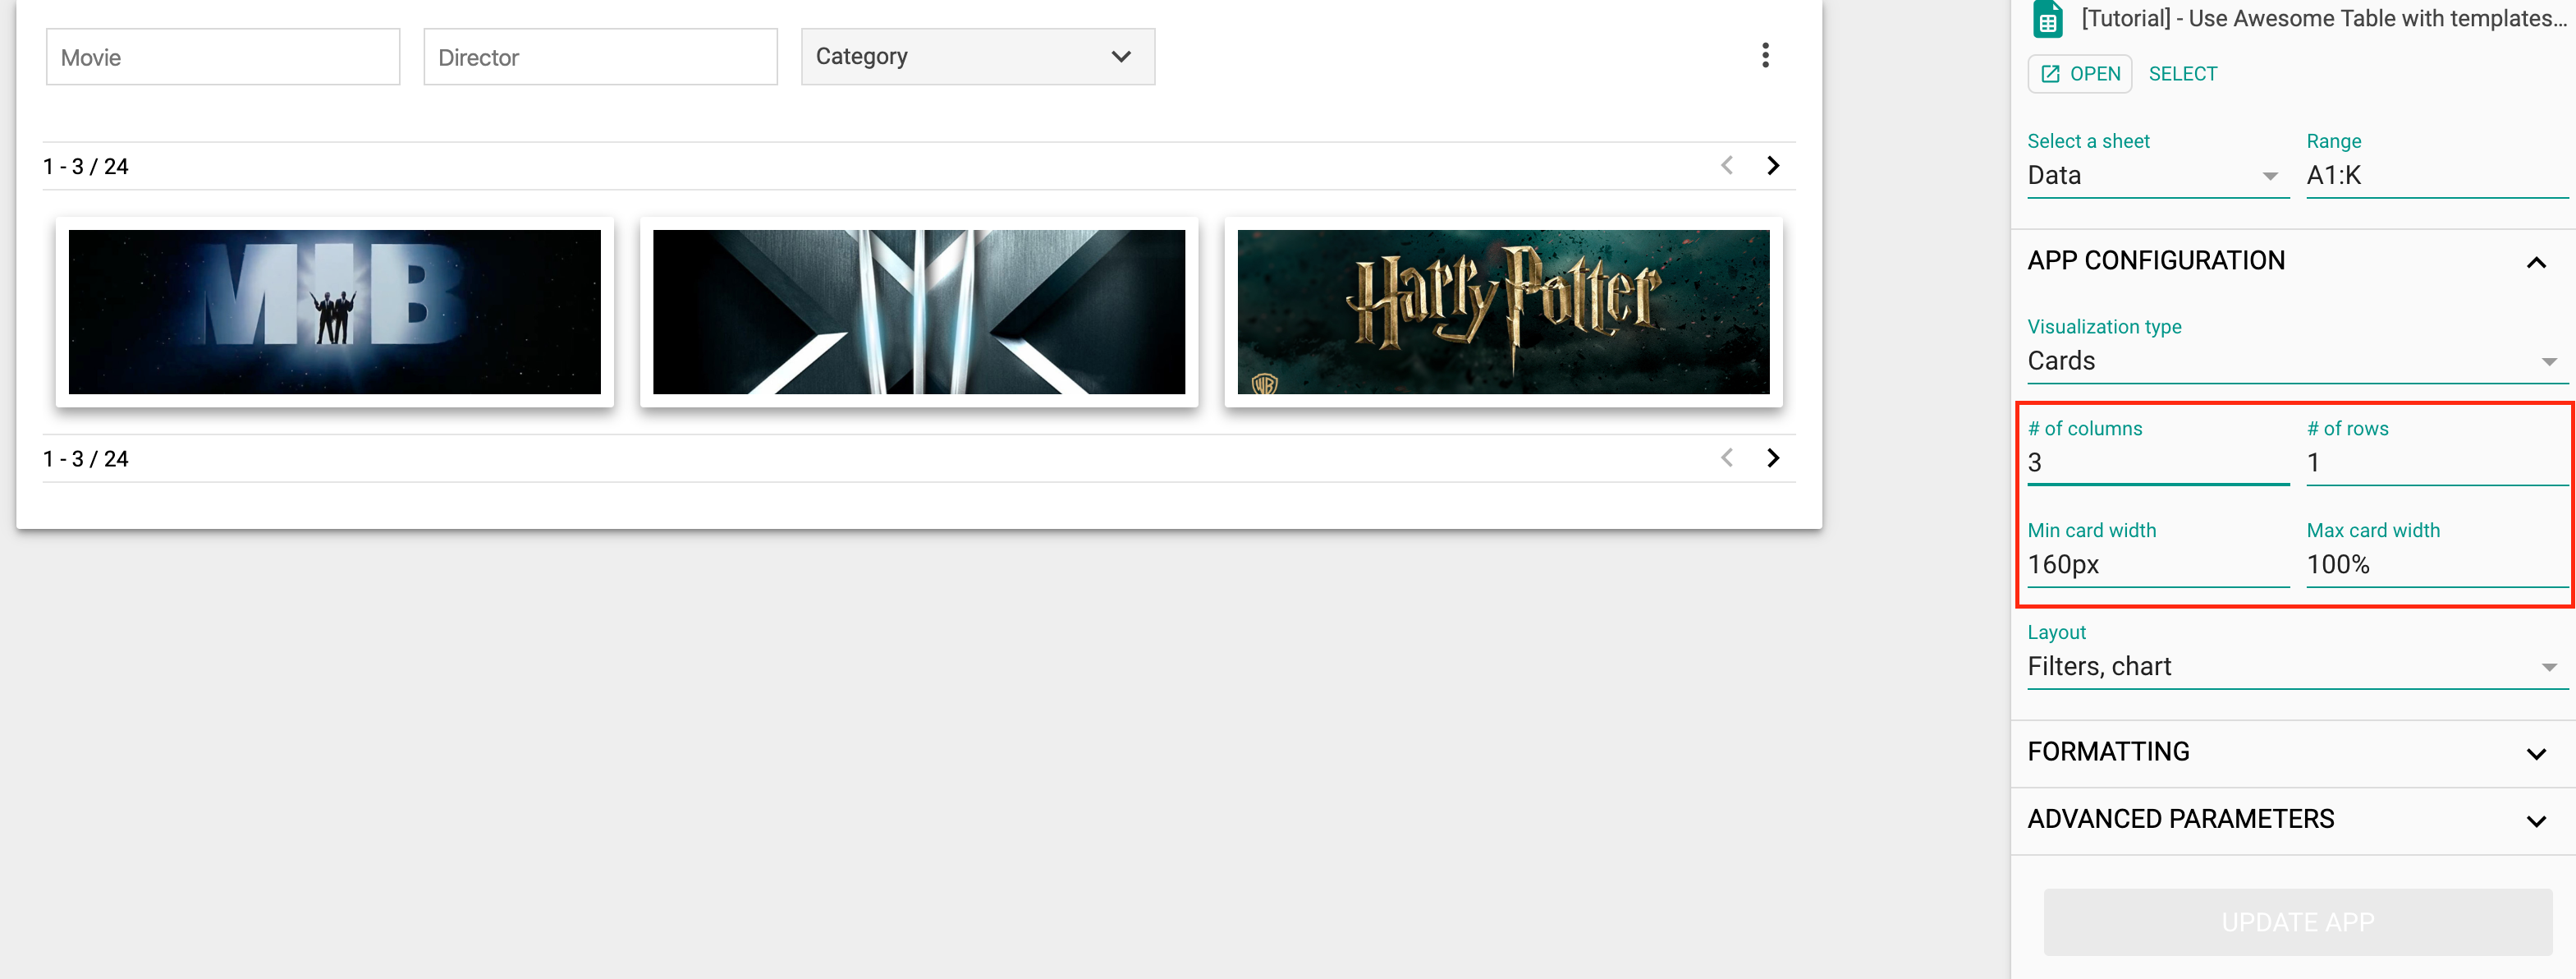
3. Cards app settings
When "Cards" is selected, Awesome Table will display Cards app-specific settings. In this tutorial, you're going to use these settings:
- # of columns: 3
- # of rows: 1
- Min card width: 160px
- Max card width: 100%
In the next article of this tutorial, you will learn how to configure a template using the spreadsheet's prescribed structure properly and reference your template in the Awesome Table's settings (sidebar menu).